While using an Epson printer, encountering technical issues is inevitable. One common problem is the blinking red light error, often occurring when the printer’s waste ink counter has reached its limit.
However, we won’t let this issue hinder your printing experience. We’ll guide you on resolving this problem using the WIC Reset software on macOS, effectively restoring your printer’s functionality.
Causes, Consequences, and How to Fix Waste Ink Counter Overflow Error
Causes and Consequences
1. Causes:
First and foremost, we need to understand the causes of this issue.
The waste ink counter in an Epson printer is a vital feature for monitoring excess ink during printing. Unused ink is transferred to the waste ink container when you perform printing tasks.
However, after extended use, the accumulation of excess ink can lead to the blinking red light error. This indicates that the waste ink counter has reached its limit.
Each Epson printer has a memory called the waste ink counter, which increases over time. When this counter is full, the printer stops to prevent waste ink overflow.
2. Consequences of Not Resetting the Waste Ink Counter
The consequence of not resetting the waste ink counter can impede the printer’s operation.
The printer will remain in an error state, unable to perform printing tasks. This can significantly impact your work and projects.
Furthermore, failing to reset the waste ink counter can lead to more severe issues, including printer damage due to waste ink overflow.
Preparing to Reset the Epson Printer Waste Ink Counter with WIC Reset on macOS
Step 1: Preparation
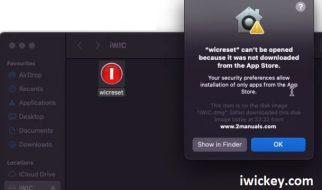
First, download and install the WIC Reset software on your macOS device.
You can download the WIC Reset software for macOS here: Download here.
Step 2: Connection and Status Check
Connect your Epson printer to your macOS computer using a USB cable. Ensure that your macOS is connected to the internet.
Power on the printer and check its status.
If you see a blinking red light, it indicates that the waste ink counter has reached its limit.
Steps to Reset Waste Ink Counter Using WIC Reset
+ You must have a reset key Before resetting an Epson printer using the WIC Reset software. You can obtain the reset key here.
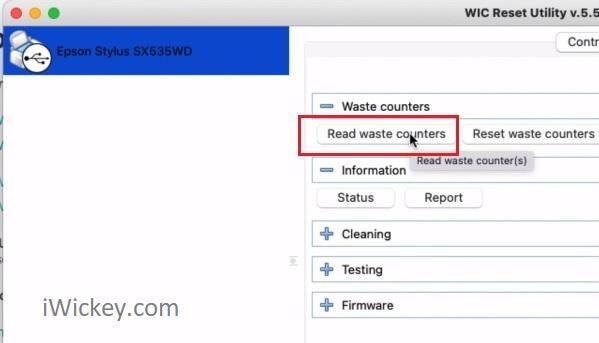
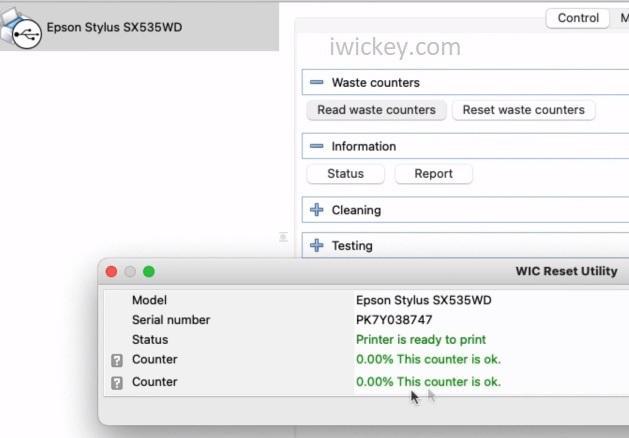
+ First, check if the waste ink counters are overflowing. Open the WIC Reset software, select the printer to be checked, and click on the “Read waste counters” button.
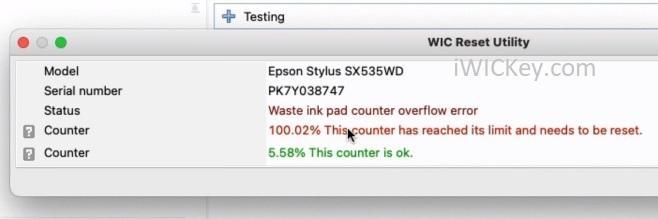
+ As you can see in the image below, the printer has two sets of waste ink counters, and one of these counters has exceeded 100%. Therefore, it can be concluded that the printer has stopped functioning due to the waste ink counter overflow issue.
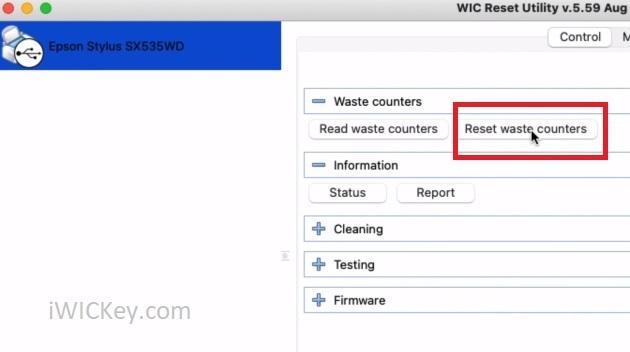
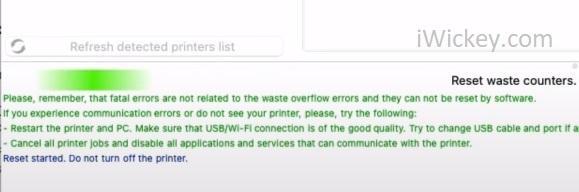
+ Before proceeding with the Epson printer reset using the WIC Reset software, make sure to close all printing tasks, shut down any applications utilizing the printer, and then initiate the reset process by clicking the “Reset waste counters” button.
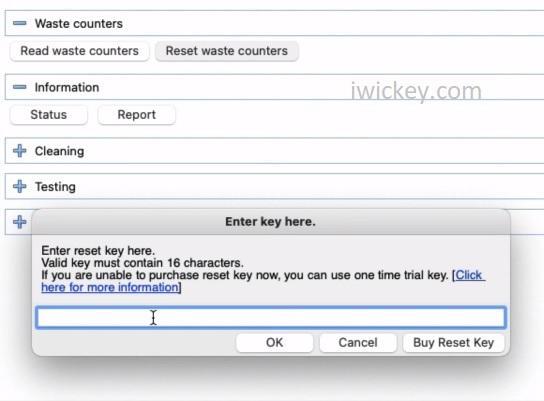
+ A dialog box will appear, prompting you to enter the reset key. You can use the TRIAL key to reset the waste ink counter to 80%, or you can obtain a reset key to reset it to 0% here: Get reset key
+ Wait for the software to reset the waste ink counters.
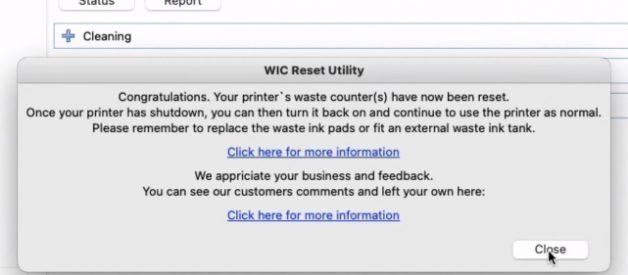
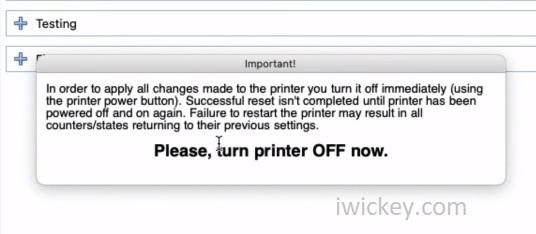
+ When the software displays a message below, turn off the printer by pressing the power button. Then, turn the printer back on to complete the Epson printer reset.
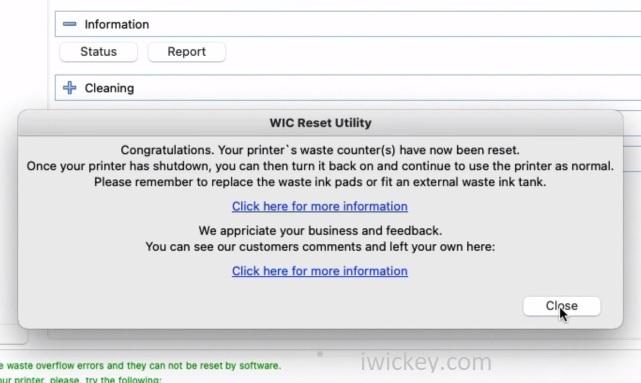
+ You will receive a congratulatory message when the reset process is successful immediately after you turn the printer back on.
+ And here, when you recheck the waste ink counter, you will see that all counters have been reset to 0%.
– Power on the printer and check if the blinking red light error has been resolved. Typically, the printer will operate normally without displaying an error state.
After Resetting the Waste Ink Counter
After successfully resetting the waste ink counter, follow these steps to ensure your printer works well and to prevent a recurrence of similar issues:
1. Status Check: Ensure the blinking red light is no longer present and the printer functions normally.
2. Ink Level Verification: Verify the ink level and ensure it doesn’t affect printing performance.
3. Most importantly, clean the waste ink container to prevent ink overflow as the printer continues to operate.
4. Regular Maintenance: Perform regular maintenance on the printer to maintain optimal performance.
Conclusion
Using the WIC Reset software on macOS is a viable solution to resolve the blinking red light error caused by the waste ink counter in Epson printers. By performing this reset procedure, you not only fix the error but also continue using the printer with improved performance, cost savings, and extended lifespan.
Always adhere to careful instructions to achieve the best results and maintain stability for your printer.
I am wishing you success and delightful printing experiences with your Epson printer!